How to create a Microsoft Account
View Count:

I am a Web developer and a graphics designer. I also love to write about the latest technology-related articles.
In this article, we are going to show you how to create a Microsoft Account.
Before starting, let’s know why you should create it.
Why do you need a Microsoft Account?
You need to create a Microsoft Account to get better facilities for using Microsoft Products.
You need Microsoft Account For the:
- Installing Apps from Microsoft Store like Roblox.
- Syncing games on the cloud to save your progress.
- Securing your Windows data.
- Receiving and Sending Emails
- so on.
So, let’s start creating Microsoft Account.
Create Microsoft Account
Step 1: First, visit Microsoft.Com.
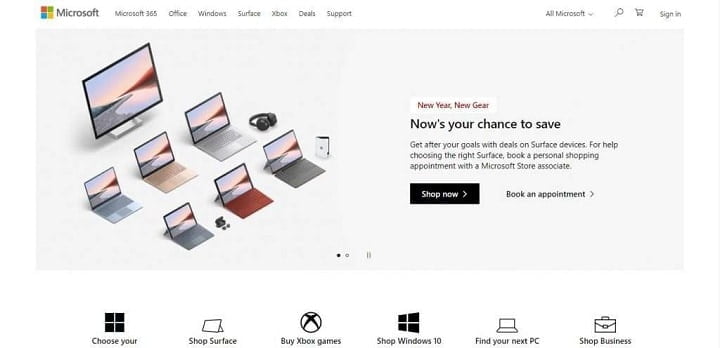
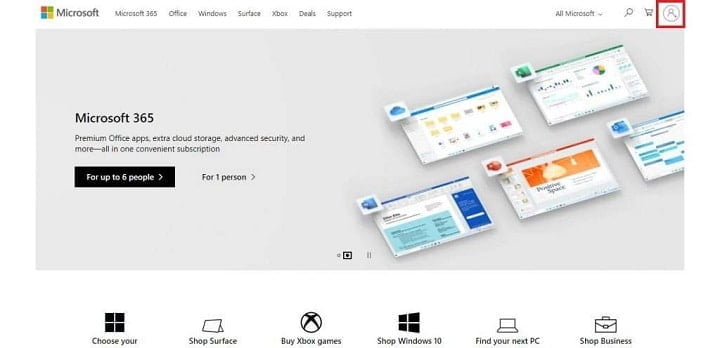
Step 2: Click on the icon “Man with plus“. It can be found right-top-corner of the page.
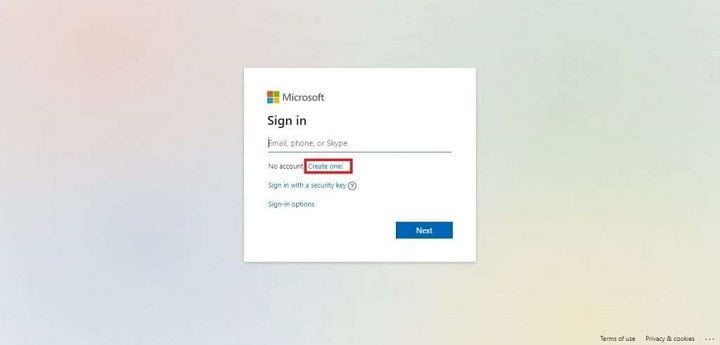
Step 3: After completing Step 2, you will be redirected to Microsoft Sign In page. From there click on the “Create one!” option.
Step 4: Now click on the “Get a new email address” option.
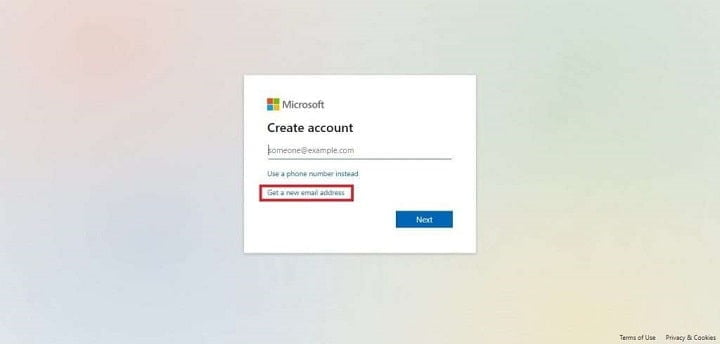
Step 5: Then you will be asked to type a New Email. Type it in the field named “New Email“.
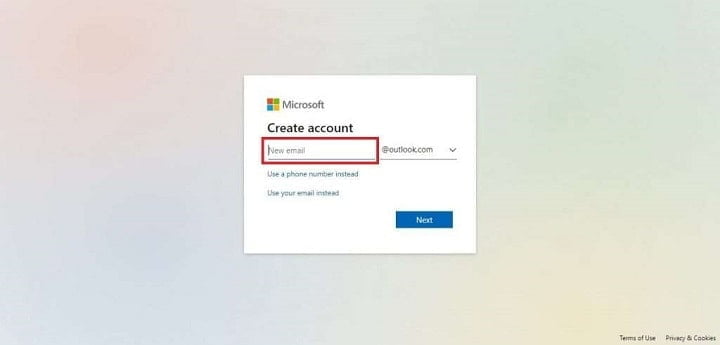
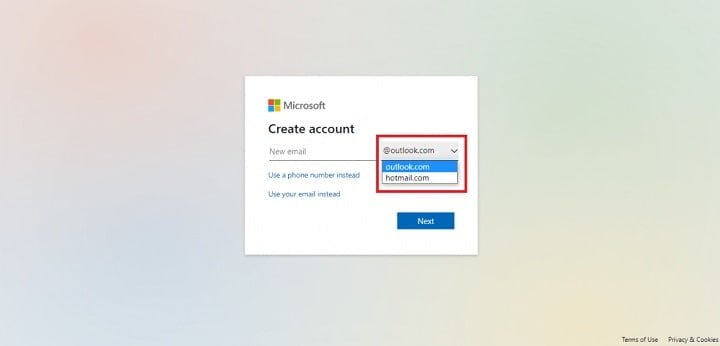
Step 6: After completing Step 5, look at the right side of the field named “New Email“. You will see a selection option asking you whether you want “@outlook.com” or “@hotmail.com“. Please choose any of them which you want. For this tutorial, we are choosing “@outlook.com“.
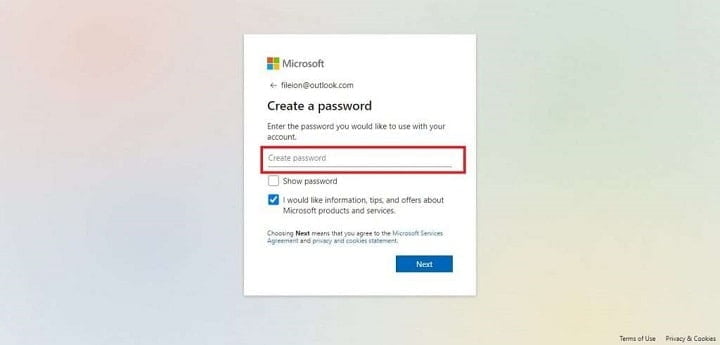
Step 7: Now click on “Next“. On the next page, you will be asked to create a password for your account. Type your password on the field named “Create password“. Then click on “Next“
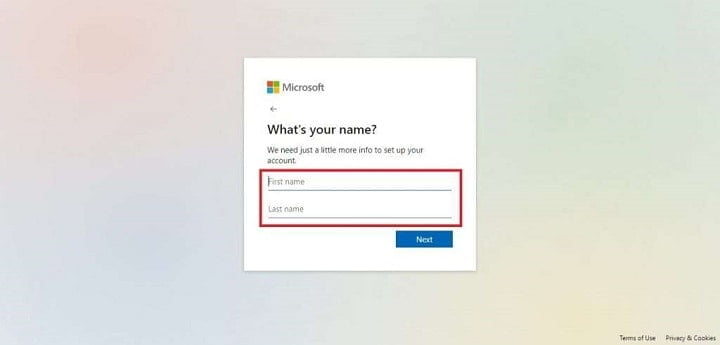
Step 8: After that, you will be asked for providing your “First Name” and “Last Name“. Fill-up it and Click on “Next“.
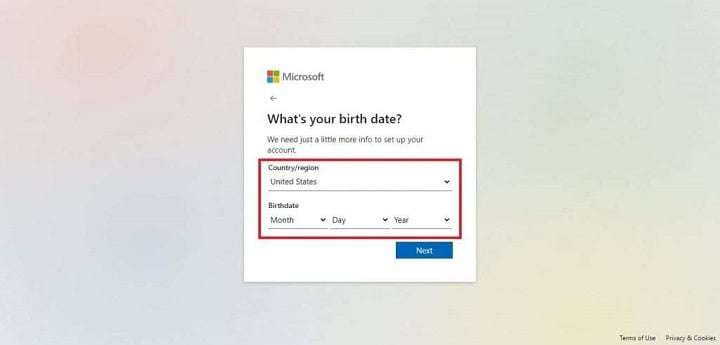
Step 9: On the next page, provide your location and your Birthdate. Then click on “Next“.
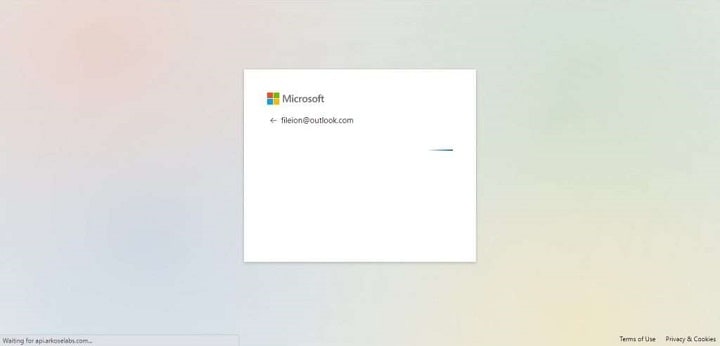
Step 10: Please wait, until your account is created.
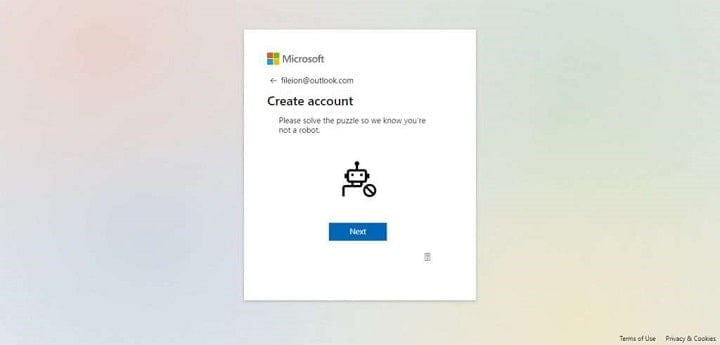
Step 11: At last, solve the provided captcha to complete your Registration Process.
Congratulation! You have successfully created your new Microsoft Account.
Create Microsoft Account using Gmail or Yahoo Account
Step 1: First, visit Microsoft.Com.

Step 2: Click on the icon “Man with plus“. It can be found right-top-corner of the page.

Step 3: After completing Step 2, you will be redirected to Microsoft Sign In page. From there click on “Create one!” option.

Step 4: Then you will find a field, asking you to provide your Email Address. In that field, type your Gmail or Yahoo! account.
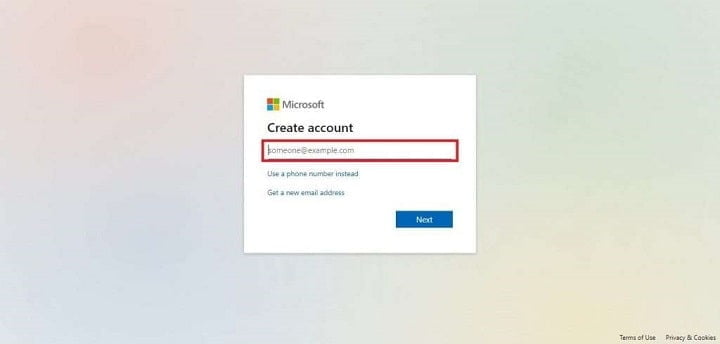
Step 5: Click on Next and type a password to Create a password for your Account. Then click on “Next“.

Step 6: After that, you will be asked for providing your “First Name” and “Last Name“. Fill-up it and Click on “Next“.

Step 7: Here, provide your location and your Birthdate. Then click on “Next“.

Step 8: Then you will be asked to verify your Email. For this verification, a code will be sent from Microsoft to your provided email in Step 4. Check your email to find it.
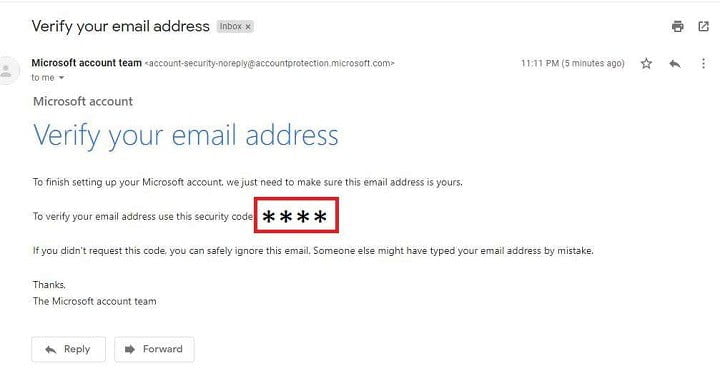
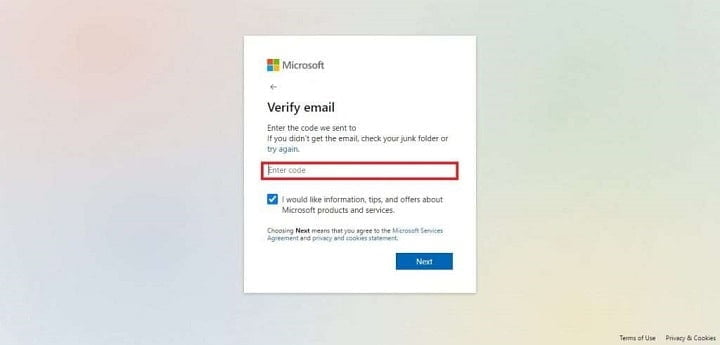
Step 9: Check your email for that code, then type the code in the “Enter Code” field. Then click on “Next“.
Step 10: Then complete the captcha provided by Microsoft and click “Next“.
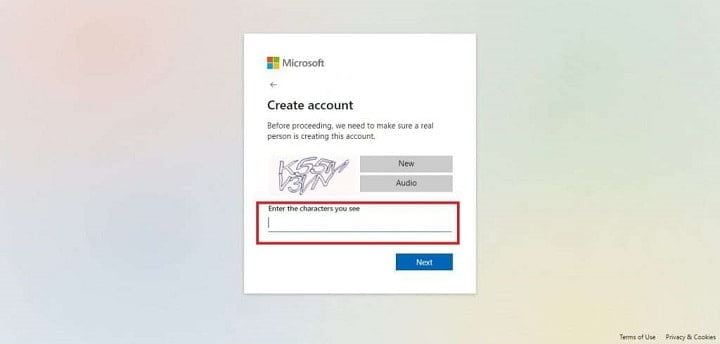
Congratulation! You have successfully created a Microsoft Account using your existing Yahoo or Gmail Account.
Now you can use this account on any Microsoft Products you wish.
How to know if your Microsoft Account is created?
You can easily ensure that you have successfully created your Microsoft Account or not.
To ensure it, first, you need to complete the registration process instructed above.
Step 1: After completing the registration process, you will be redirected to Microsoft Home Page. From there click on the “Man Icon” located in the top-right corner.
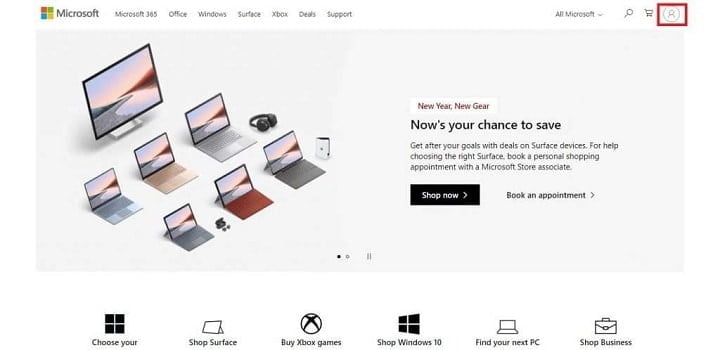
Step 2: Then you will see, your name with your chosen Email Address. If you see it, you have successfully created your Account. But if you don’t see it then there might be some issue with your process. Please read and follow the instruction carefully.
Conclusion
A Microsoft Account is really essential nowadays to get all the benefits from Microsoft Products. If you are a gamer or an office worker you need it. So, we have shown you how you will create a Microsoft Account easily.